
By Nora McDonald, Community Farm Manager
Containers:
Choose sturdy containers with bottom holes for drainage. These can be plastic pots from your local garden center made specifically for seed-starting, or you can get creative and recycle clean plastic containers or even egg cartons you have saved — just make sure there are holes in the bottom for water to drain out.

Potting Soil:
Choose a potting soil to start your seeds in. It should hold moisture well but be loose enough for the seeds and sprouts to access oxygen. There are many options for potting soil made specifically for seed germination, and you can consult your local garden center for a recommendation.

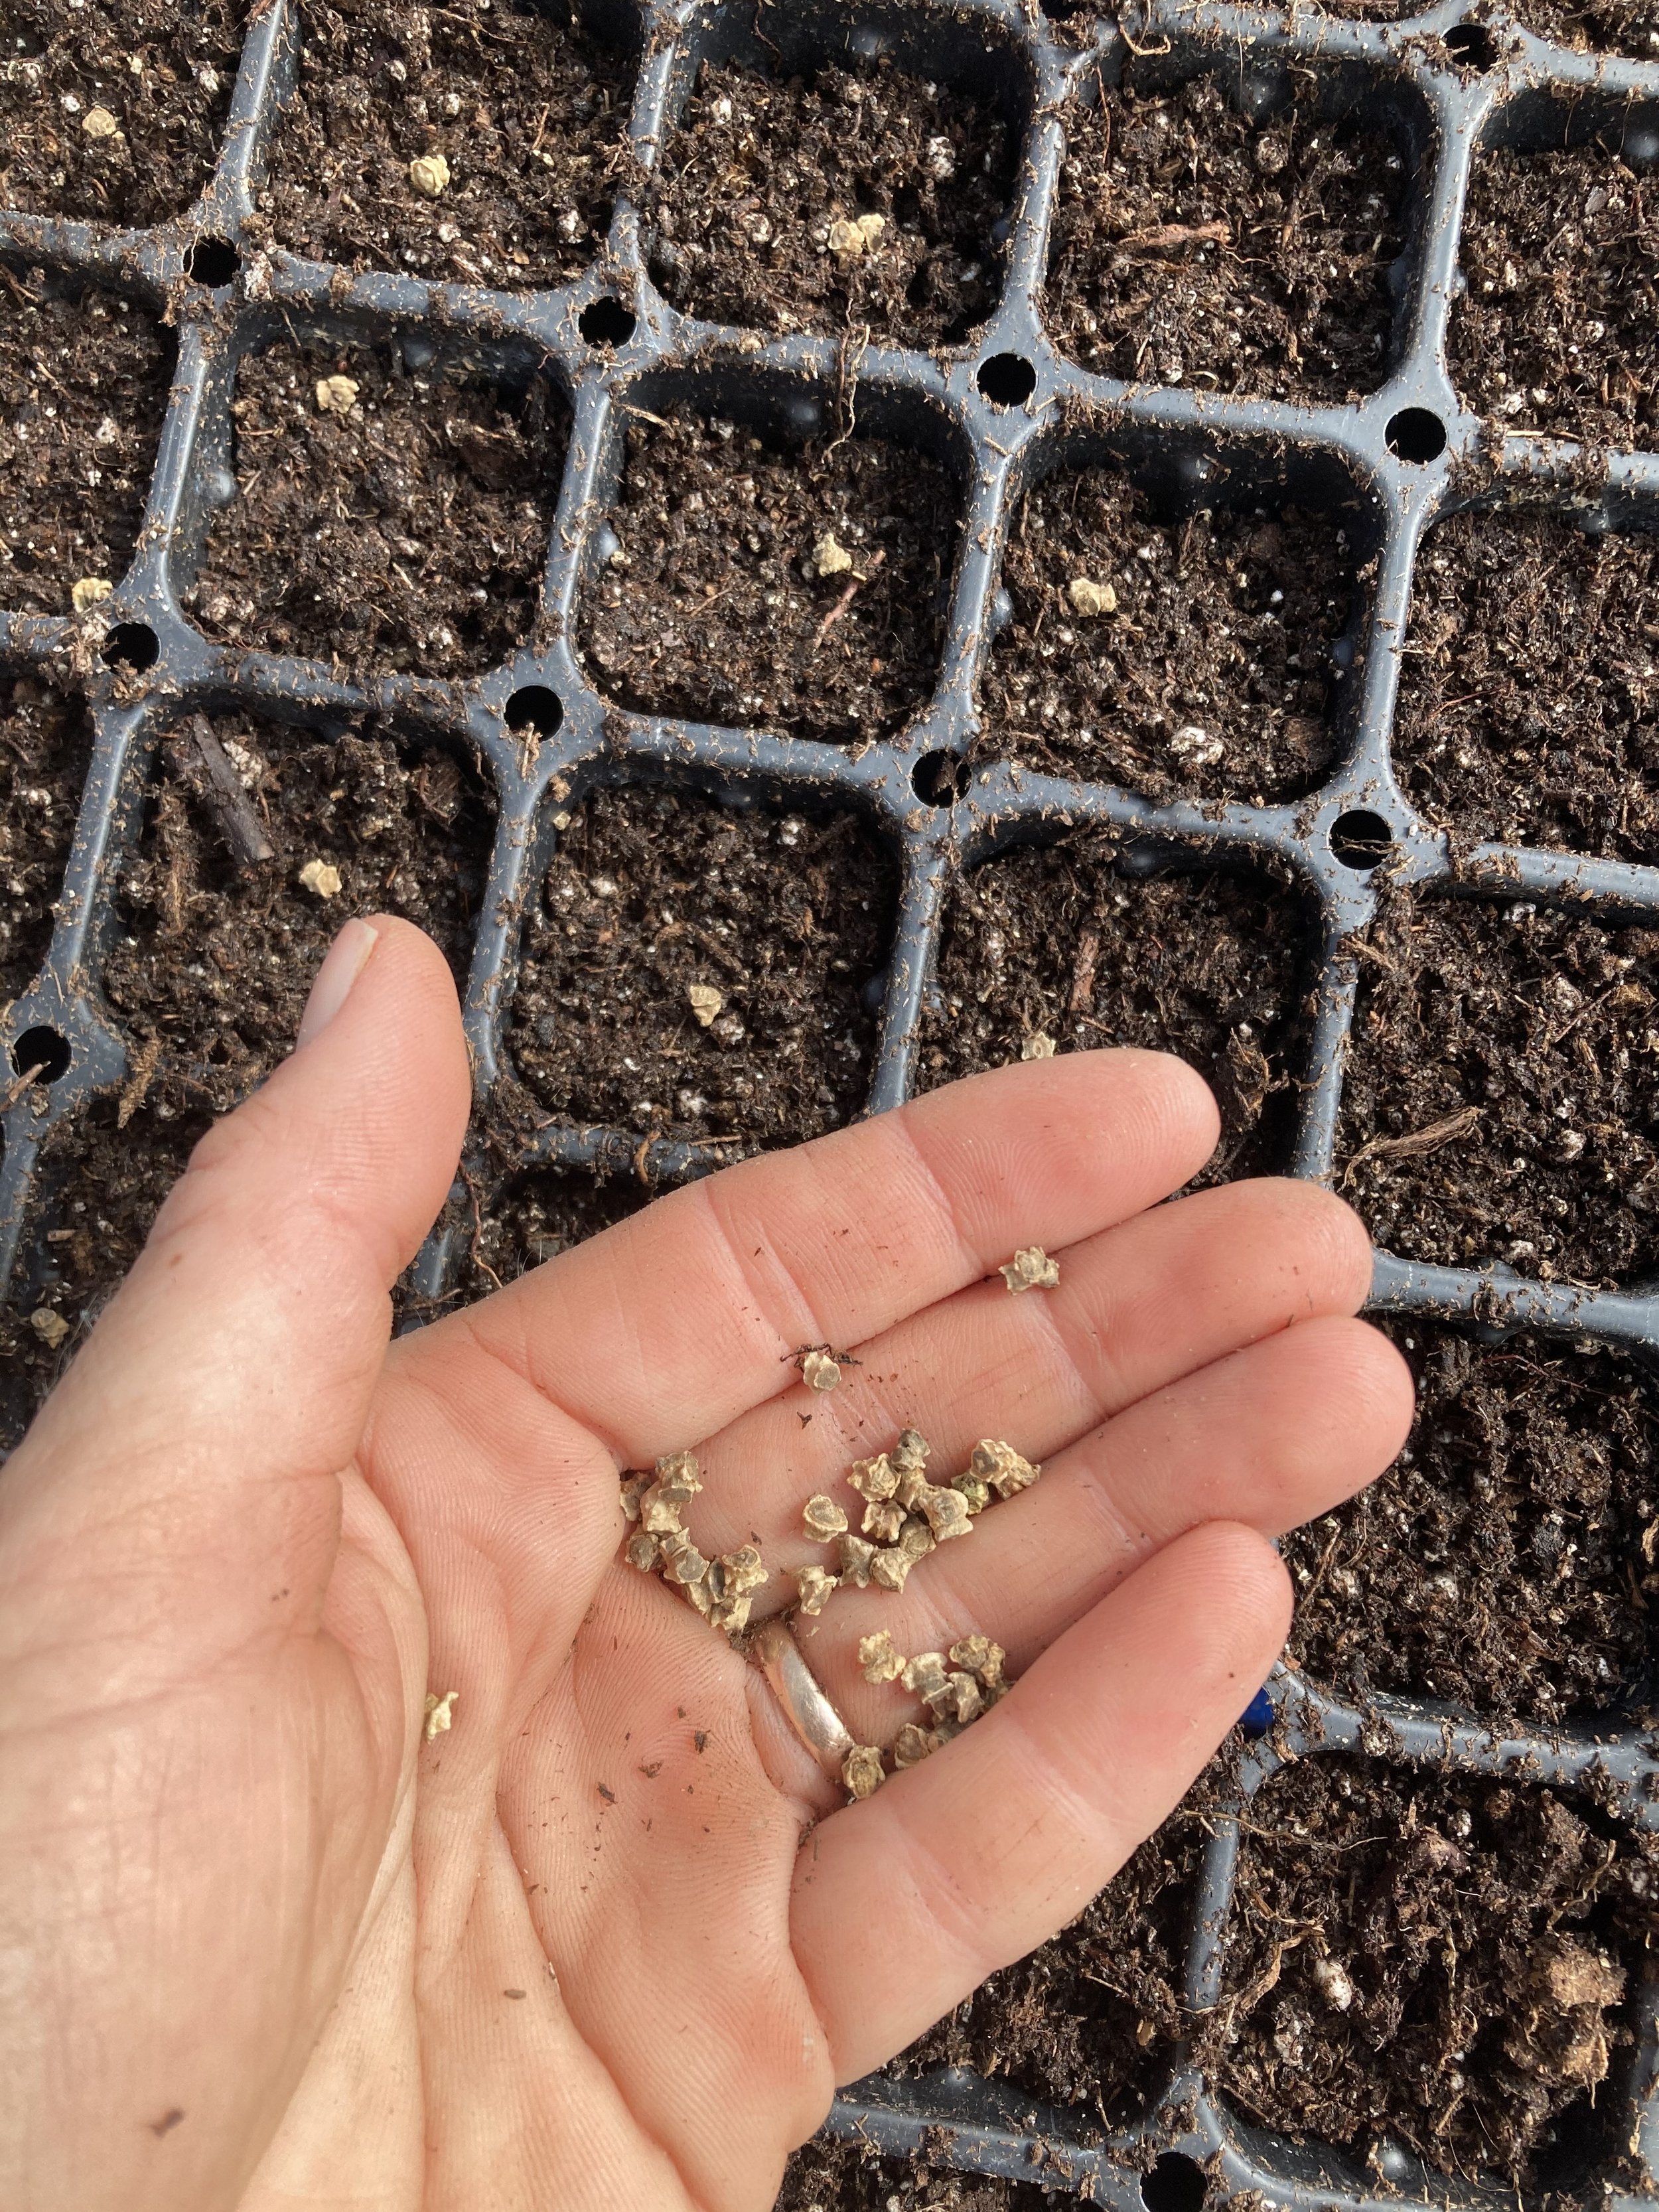
Planting:
Plant your seeds according to the recommendations provided on the seed packet. Most seeds only need to be planted to a depth equal to the width of the seed itself. Planting too deep will cause the seeds to struggle. Once you have covered the seed with soil, gently press or pat the soil to ensure good seed-to-soil contact. This helps the seeds absorb moisture.

Water and Warmth:
Provide even moisture and warmth until seeds emerge. The soil should be kept moist, but not water-logged as too much moisture can cause seeds to rot. You can help retain moisture by covering your starting containers with a plastic dome or by using cling wrap. Remove these covers when sprouts emerge and place them in a sunny location such as a south-facing window.

Potting Up:
Especially if you have started your seeds in very small containers, you’ll want to pot them up into larger containers shortly after they have germinated and the first true leaves have appeared. A growing plant will outgrow a small container or germination tray quickly, and potting up prevents the plant’s roots from becoming overly restricted and keeps the plant healthy.

Fill your larger containers with fresh soil, preferably one with added nutrients to help feed the growing plants.
Using a clean wooden stick or small fork, gently scoop under and lift the tiny transplant out of its original container. Never grab a plant by its stem and pull it out of the soil. Lifting from underneath keeps roots intact and reduces stress on the plant.
Gently tuck the plant's roots and some of its stem into the new potting soil and press it into place. Some plants such as tomatoes and peppers like their stems buried a bit deeper, and some plants don’t like it at all, so a bit more research on your type of plant may be required.
Depending on how quickly your plants grow, you may need to pot them up into even bigger containers before it’s time to plant them outside in the garden. This can feel like a lot of work but it is well worth the effort to ensure healthy, vigorous plants. If you plan to keep your plants in containers for a patio garden, you will definitely want to pot them up into large enough containers for the plants to reach their full size and provide a good yield.
Happy Growing!
In an effort to cultivate community and alleviate hunger in our city, The Nashville Food Project brings people together to grow, cook and share nourishing food. Learn more about our programs and how you can get involved.
